20 Easy Tips to Edit Photos in Affinity 2026: Free Photoshop
20 Easy Tips to Edit Photos in Affinity 2026: Free Photoshop
Affinity is now one of the most interesting free photo editing tools available. For years, Affinity was known as one of the strongest alternatives to Adobe Photoshop. It was not free before, but it was popular because it offered professional editing tools without a monthly Adobe subscription. Now that Canva has acquired Affinity, the software is available for free.
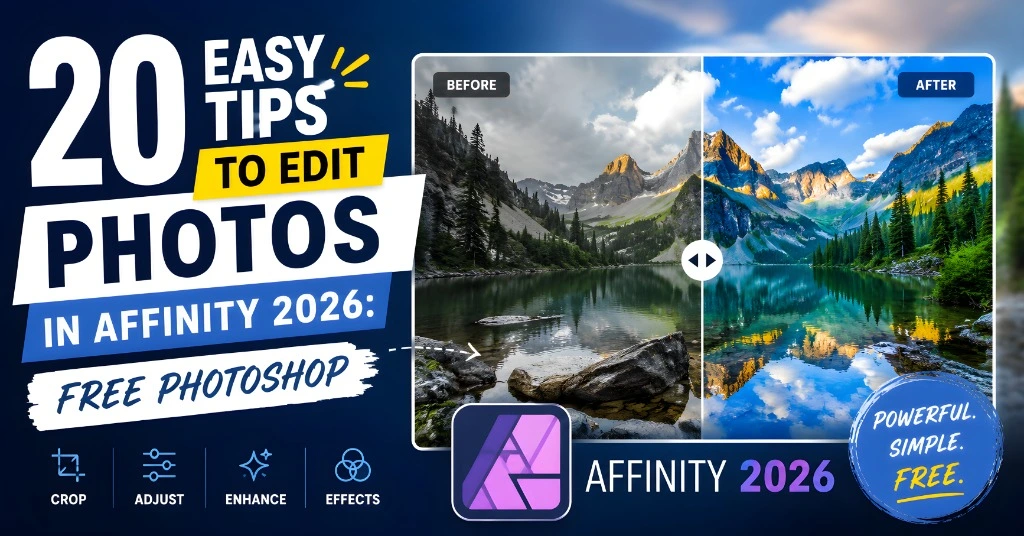
Affinity is not only a simple photo editor. It is a serious creative app. You can edit photos, work with layers, create graphics, design layouts, open RAW files, remove objects, use masks, export in different formats, and much more. At first, it may feel confusing. But once you understand the basics, it becomes much easier. This guide will help you start editing photos in Affinity step by step.
What Is Affinity?
Affinity is a professional creative app owned by Canva.
The new version combines tools that were previously separate:
For photo editing, the most important area is the Pixel section. That is where you will find many tools similar to Photoshop.
You can use Affinity for:
Is Affinity a Good Free Photoshop Alternative?
Yes, Affinity is one of the best free Photoshop alternatives for photo editing. It offers advanced tools like layers, curves, levels, masks, RAW editing, inpainting, blemish removal, gradients, and export options.
It is powerful enough for serious users, but beginners can also learn it with a little practice. The main thing to know is this: the core Affinity app is free, but some Canva AI tools inside Affinity may require a Canva Premium plan.
Why Affinity Being Free Matters
Photo editing software can be expensive. Photoshop is powerful, but many casual photographers do not want another monthly subscription. Free tools often highly limited. Affinity is different because it gives users professional-level editing tools without a high cost.
This matters for:
Now let’s go through 20 simple tips to help you edit photos in Affinity.
Start with the Pixel Section
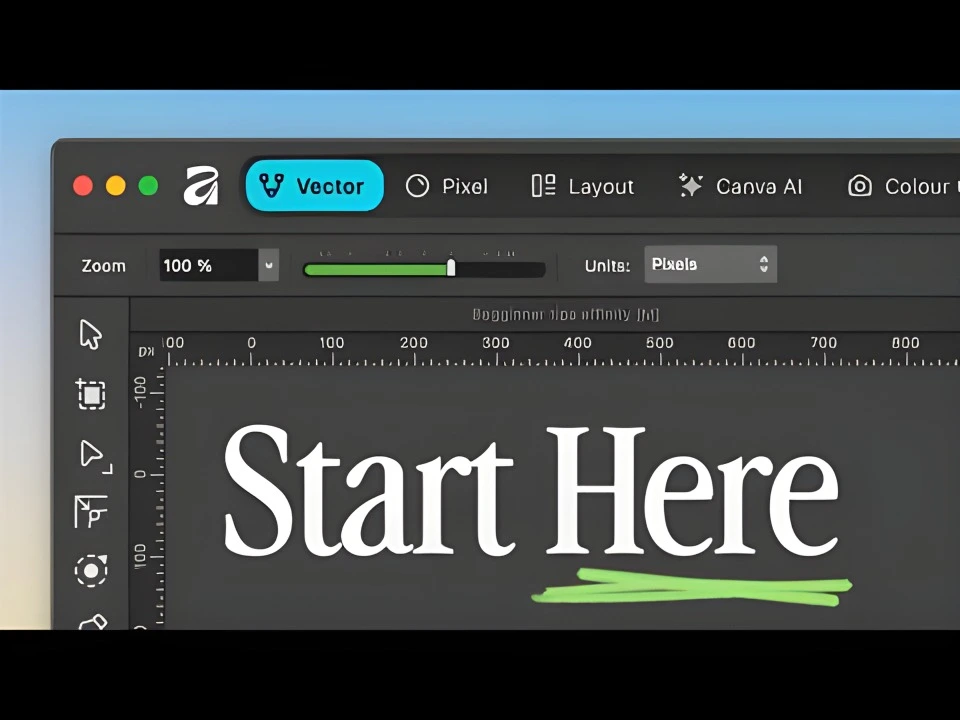
Affinity includes different creative areas, but for photo editing, start with the Pixel section. This is where you will find tools for editing brightness, contrast, colors, sharpness, masks, brushes, and retouching. Do not worry about learning everything at once. Focus only on photo editing first.
Simple tip
Open a photo, go to the Pixel tools, and ignore the vector and layout sections until you need them.
Set Up Your Panels
Panels are the boxes around the screen that show tools, layers, adjustments, history, and other options.
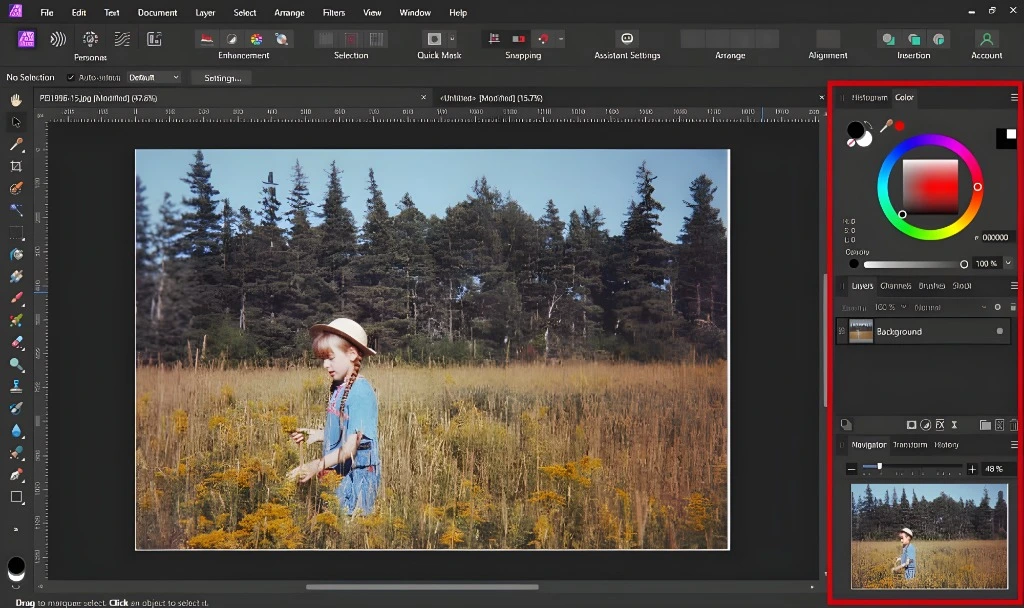
At the start, make sure you can see these important panels:
A clean panel setup makes editing much easier.
Simple tip
Keep only the panels you use most. Too many panels can make the screen feel messy.
Reset Panels When You Get Lost
Beginners often move panels by mistake or open too many windows. Do not panic. Affinity lets you reset panels and return the workspace to normal. This is very useful when the interface becomes confusing.
Simple tip
When the screen feels messy, use the reset panel option and start fresh.
Use Quick Adjustments First
Quick Adjustments are perfect for fast editing.
You can quickly change:
For many photos, these basic changes are enough.
Simple tip
Start with small changes. A little contrast and brightness can improve a photo more than heavy editing.
Learn Layers Early
Layers are one of the most important parts of Affinity.
A layer is like a transparent sheet placed over your photo. You can add edits on separate layers without damaging the original image.
This is called non-destructive editing.
Layers help you:
Simple tip
Always check the Layers panel while editing. It shows what is happening to your photo.
Duplicate Your Original Photo Layer
Before making big edits, duplicate your original photo layer.
This gives you a backup inside the file.
This is a good habit because it protects the original photo.
Simple tip
Duplicate the base layer before using tools that permanently change pixels.
Use Adjustment Layers
Adjustment layers are better than direct edits because they can be changed later.
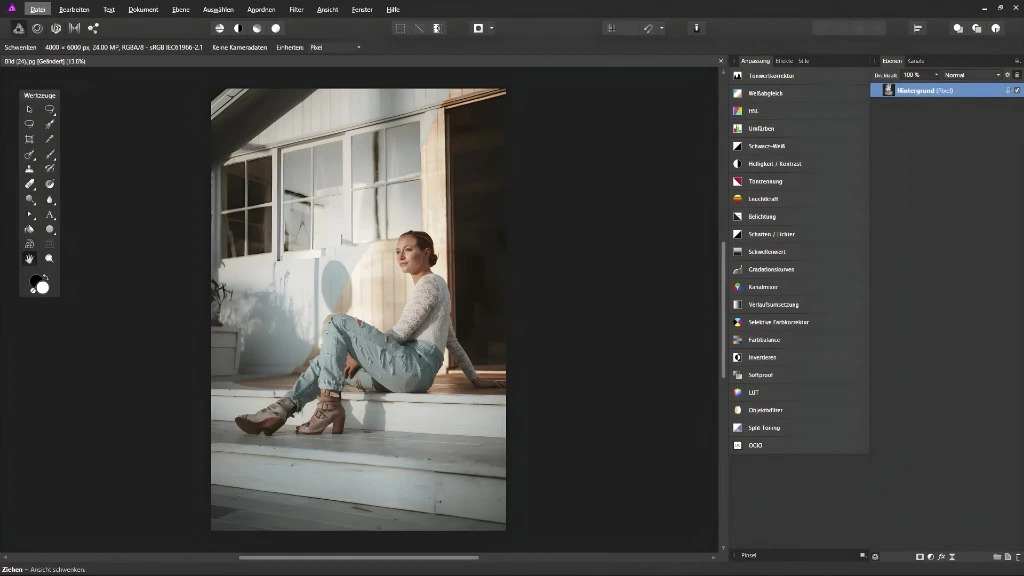
You can create adjustment layers for:
Each adjustment appears as a separate layer.
Simple tip
Use adjustment layers instead of editing the photo directly whenever possible.
Try Curves for Better Contrast
Curves are one of the most powerful editing tools. They help control brightness, contrast, shadows, and highlights. At first, Curves may look scary, but the basic idea is simple.
Simple tip
Use a gentle S-curve to make photos look more professional.
Use Levels for Simple Light Correction
Levels are easier than Curves for beginners.
They help fix dark, flat, or washed-out photos.
You can adjust:
This gives your image more depth and punch.
Simple tip
Use Levels when your photo looks dull or gray.
Make Better Black and White Photos
Do not make black and white photos by only reducing saturation. That often creates a flat image. Use a black-and-white adjustment instead. This lets you control how different colors convert into gray tones. For example, you can make blue skies darker or skin tones brighter.

Simple tip
A good black and white photo needs contrast, not just no color.
Use Presets, But Edit Them
Affinity includes presets that can quickly change the look of your photo. Presets are useful for learning and fast editing, but do not rely on them blindly. A preset may look good on one photo and bad on another.
Simple tip
Apply a preset, then reduce or adjust it until the photo looks natural.
Use the History Panel
The History panel shows every editing step you have made. This is useful when you want to go back without starting over. You can move backward and forward through your edit history.
Simple tip
Use History when you make a mistake or want to compare different stages of editing.
Fix White Balance
White balance controls the color temperature of your photo. If a photo looks too yellow, too blue, too green, or too purple, white balance may be the problem. You can use white balance tools to make the photo look more natural.
Simple tip
Look for something that should be white or gray in the photo, then adjust until it looks neutral.
Use the Adjustment Brush
The Adjustment Brush lets you edit only part of a photo.
For example, you can:
This is very useful because not every edit should affect the whole image.
Simple tip
Use local adjustments when only one part of the photo needs fixing.
Remove Objects with the Inpainting Brush
The Inpainting Brush is one of the most useful tools in Affinity. It helps remove unwanted objects from a photo, such as:
You paint over the unwanted object, and Affinity fills the area automatically.
Simple tip
Use a small brush and remove objects in small steps for cleaner results.
Use Blemish Removal for Small Fixes
The Blemish Removal Tool is useful for making tiny corrections.
Use it for:
It is more precise than the Inpainting Brush for small areas.
Simple tip
Do not over-retouch faces. Natural skin looks better than plastic skin.
Try the Lighting Filter
The Lighting Filter lets you add or change light inside a photo. You can create a light effect, brighten a subject, or add mood to an image. This can be useful for creative edits, but it should be used carefully.
Simple tip
Keep lighting effects subtle. If people can immediately notice the filter, it may be too strong.
Edit RAW Files
Affinity can edit RAW files. RAW files contain more image data than JPEGs. This gives you more control over exposure, highlights, shadows, white balance, and color.
RAW editing is useful for:
Simple tip
Shoot RAW when you want maximum editing control. Use JPEG when you want quick, easy files.
Use a Gradient Mask for Skies
A gradient mask is very useful for landscapes. For example, if the sky is too bright, you can darken only the upper part of the image and leave the ground unchanged. This creates a natural-looking correction.
Use it for:
Simple tip
Use soft gradients. Hard transitions look fake.
Export Photos Correctly
After editing, you need to export your photo.
Affinity supports many file formats, including JPEG, PNG, TIFF, PSD, and more.
For websites and social media, JPEG is usually best.
For professional printing or future editing, TIFF may be better.
For transparent graphics, use PNG.
Simple export settings for the web
Simple tip
Do not upload huge full-size images to websites. Resize and compress them first so your page loads faster.
Best Beginner Workflow in Affinity
Here is a simple editing workflow for beginners:
This workflow is enough for most photos.
Affinity vs Photoshop: Which One Should You Choose?
Affinity is a great choice if you want powerful editing tools for free. Photoshop is still the industry standard and has more advanced professional features, stronger AI tools, deeper plugin support, and better integration with Adobe Creative Cloud. But many users do not need all of that.
Choose Affinity if:
Choose Photoshop if:
What I Like About Affinity
What Could Be Better
Who Should Use Affinity?
Affinity is great for:
Who Should Not Use Affinity?
Affinity may not be the best choice if:
Frequently Asked Questions (FAQs)
CONCLUSION
Affinity becoming free is a major win for photographers and creators.
It gives users access to serious photo editing tools without a monthly subscription. You can edit RAW files, work with layers, correct colors, remove objects, create black and white photos, use masks, and export professional-looking images.
It may feel confusing at first, but that is normal with powerful software. Start with basic tools like Quick Adjustments, Layers, White Balance, Curves, and Export. Then slowly learn brushes, masks, RAW editing, and advanced retouching. If you want a free Photoshop alternative for real photo editing, Affinity is one of the best options available.